PatronMGR™ Help
Getting Started
PatronMGR™ software creates batches of Guest Passes for use with CYBRARIAN® public computer logins.
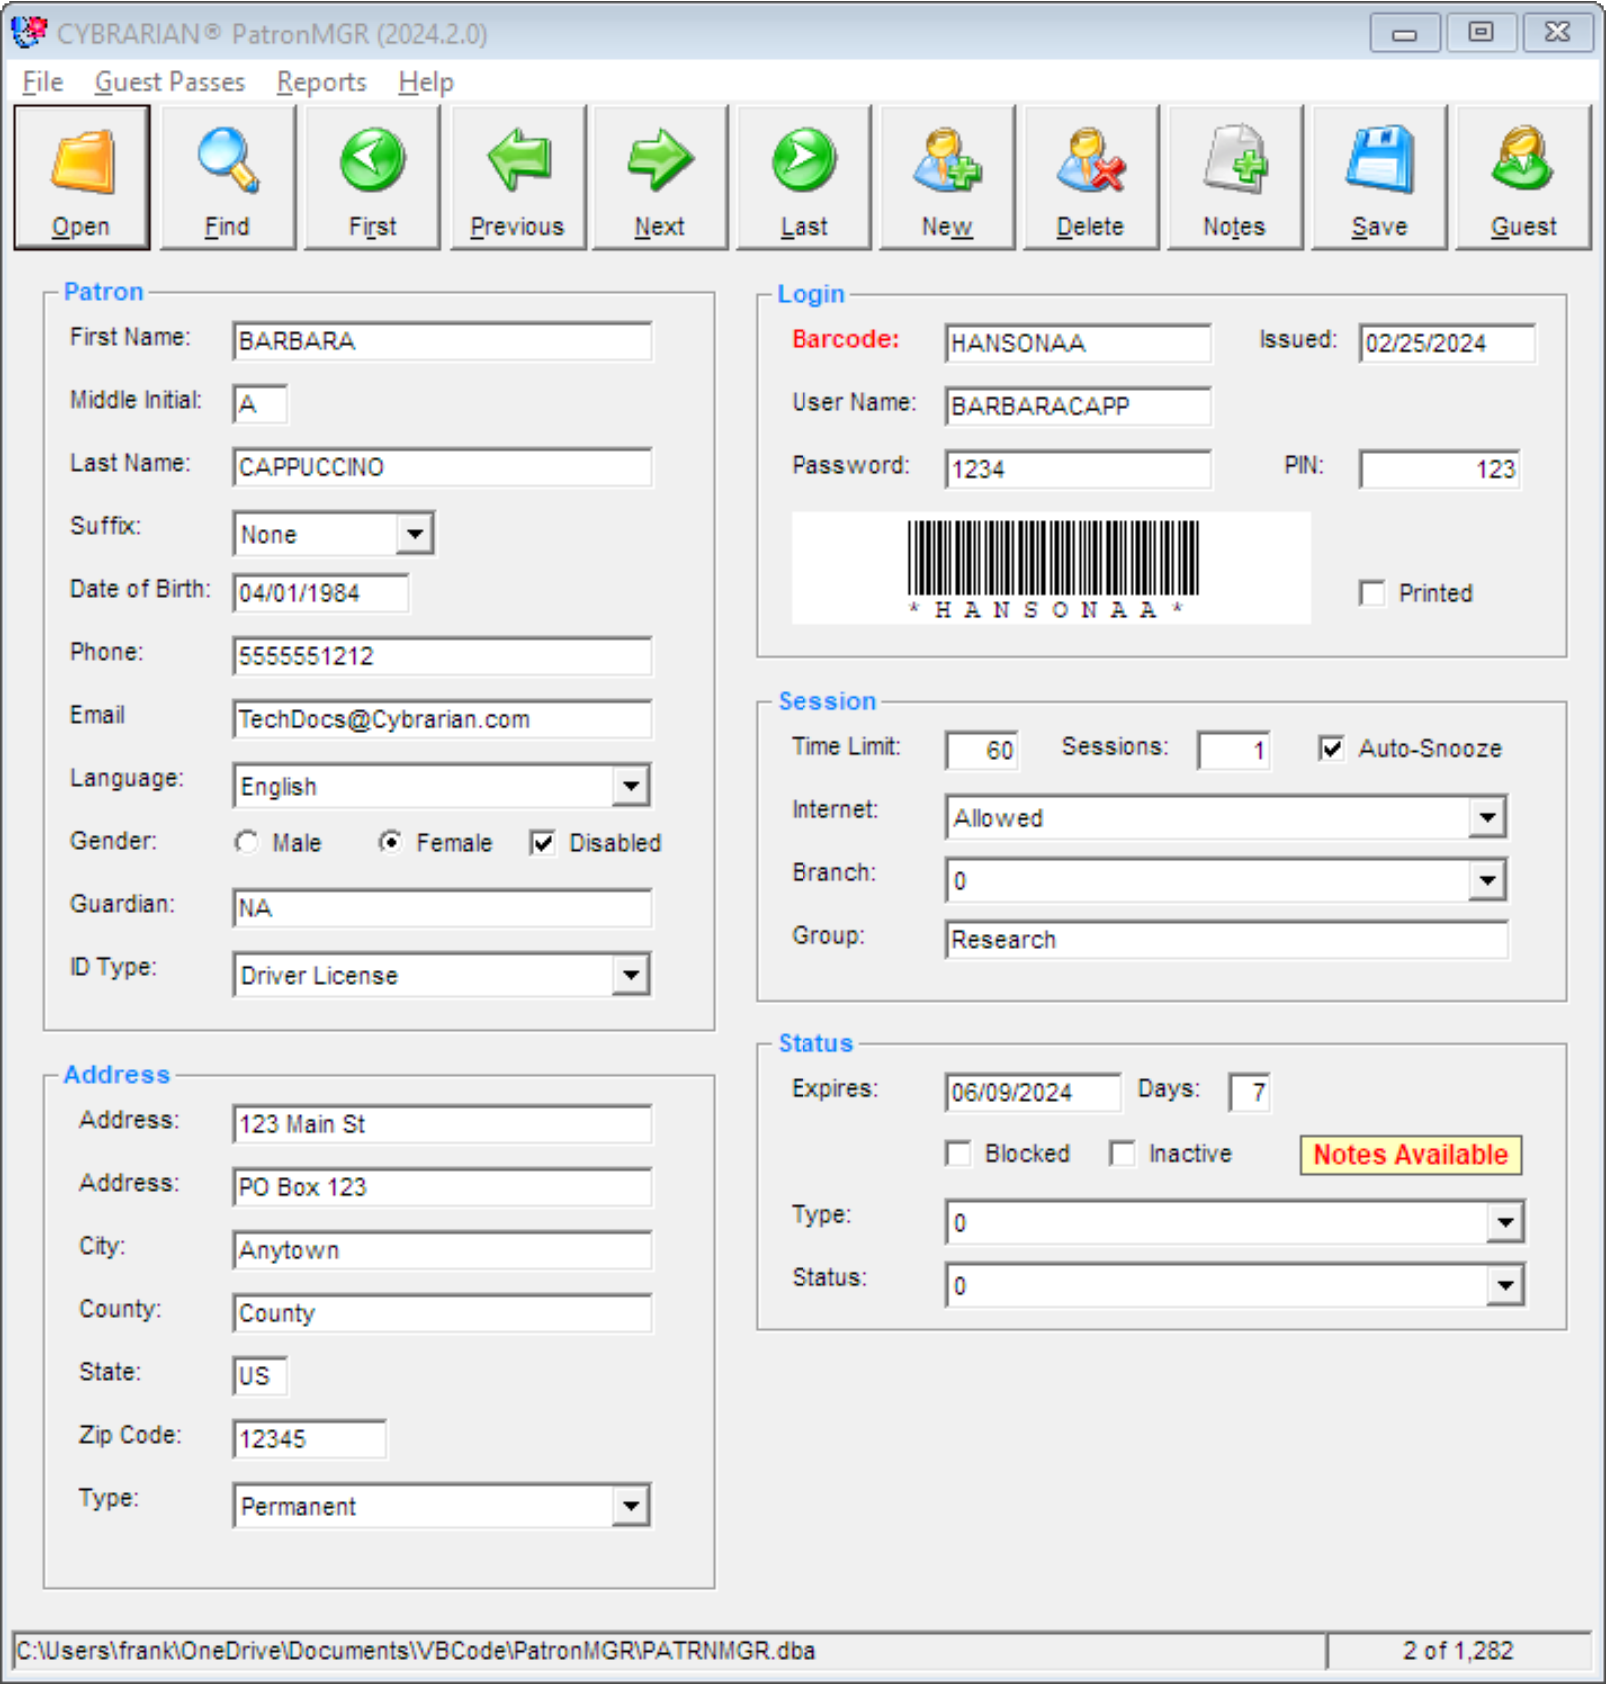
- Create public computer Guest Passes with session time limits and expiration dates.
- Guest Pass barcodes are alphanumic and/or optically scannable.
- Templates for more than 250 of the most popular Avery labels.
Create a Single-Use Guest Pass on Demand
To create a Single-Use Guest Pass on demand, click the button on the toolbar. A new Guest Pass will be created and printed using the default settings for Guest Passes.
Require ID Scanning for Single-Use Guest Passes
On the menu, select :
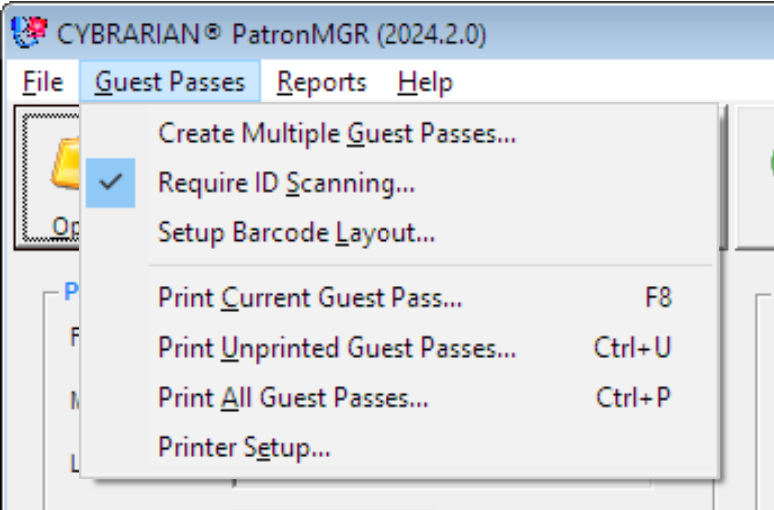
The dialog opens:
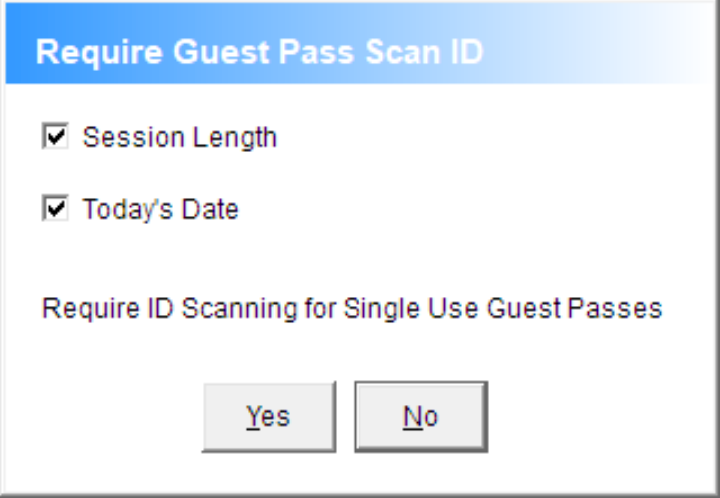
- Session Length: Select to add session time to Single-Use Guest Passes.
- Today's Date: Select to add the current date to Single-Use Guest Passes.
TIP Now anytime you click the button on the toolbar, the Scan ID dialog will appear:
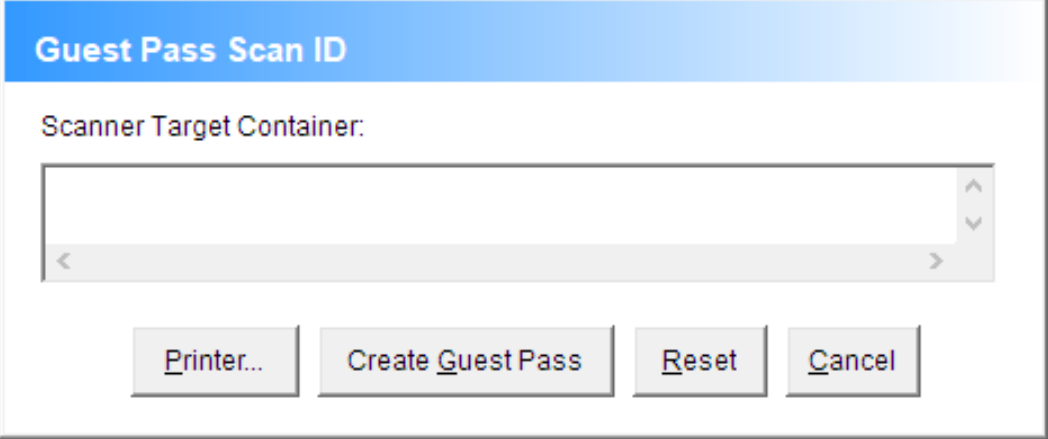
Guest Pass Scan ID buttons:
- Printer: select a different printer for this Single-Use Guest Pass.
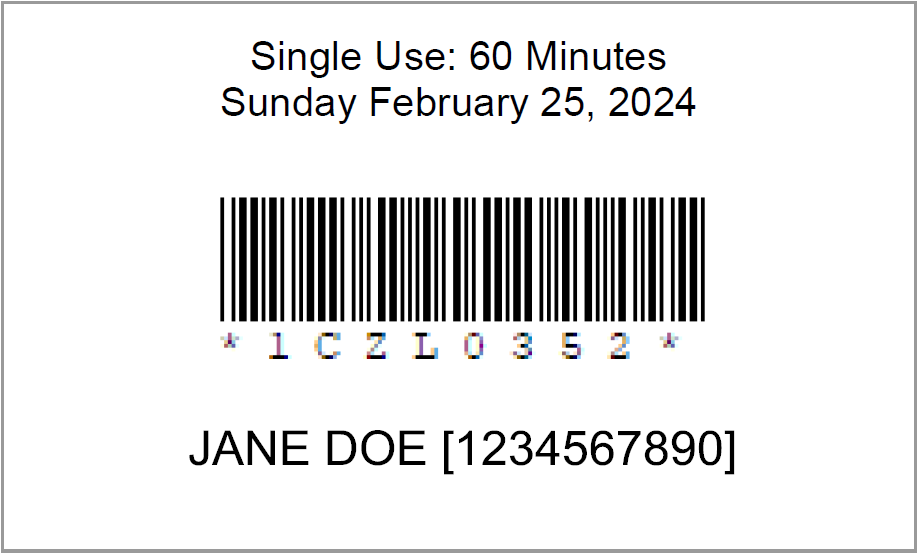
- Create Guest Pass: New Single-Use Guest Pass is automatically printed, including scanned ID information.
- Reset: resets all defaults and clears any previous scan.
- Cancel: closes the dialog.
Creating Batches of Guest Passes

Guest Pass Formats
| ABC1234: 3 letters and 4 digits |
| 123ABC4567: 3 digits, 3 letters, 4 digits |
| 12345678901234: 14 digit Standard |
|
GUEST123456789: letters GUEST followed by 9 digits produces a 14 character Standard Barcode that is easily identifiable as a guest
barcode in all reports.
|
|
PREFIX + 123456789: 1 to 5 letters of your choice followed by 9 digits produces a custom Barcode. Identifiable as a special guest
barcode for a particular location or a special event in all your reports.
|
|
PREFIX + 1234567: 1 to 5 letters of your choice followed by 7 digits produces a custom Barcode. Identifiable as a special guest barcode
for a particular location or a special event in all your reports.
|
|
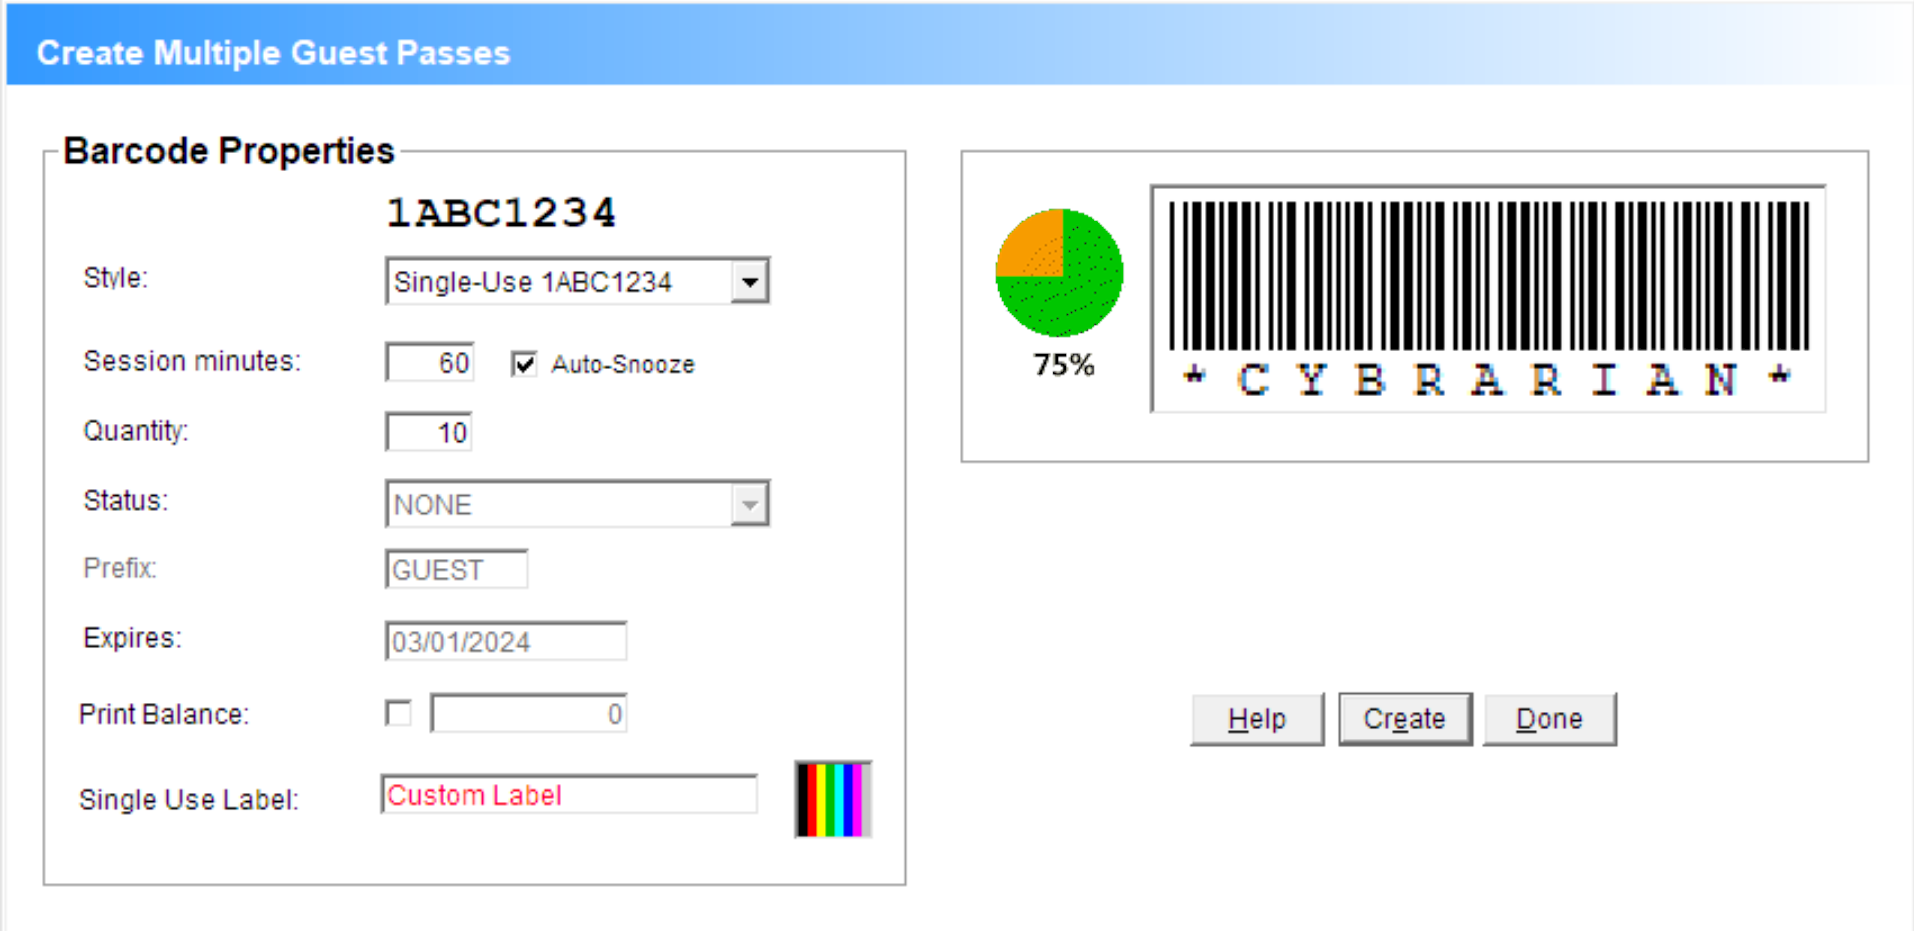
Single-Use 1234ABCD: Guest Passes are valid for one login and then automatically expire.
|
Guest Pass Options
- Add the Session Minutes and Auto Snooze to each Guest Pass
- Quantity of Guest Passes to create
- Status: user defined patron groups
- Add a Prefix for each Guest Pass barcode
- Add an Expiration date to each Guest Pass
- If the Print management Pre-Pay option is on, add an opening Print Balance to each Guest Pass
- Add a custom Single-Use Label to each Guest Pass
- Select the custom Single-Use Label Color for each Guest Pass
When the button is pressed, if an existing database is present in the selected folder You have the option of retaining the previous Guest Passes, or overwriting them:
- Replace the database - deletes all existing Guest Passes and saves only the new Guest Passes,
- Or Keep the existing database - add the new Guest Passes to the database.
Printing Guest Passes
On the menu, select .
TIP Select to define the printed Label Sheet options.

Label Sheet Layout
The default label sheet prints 30 Barcode labels per page in 3 columns of ten labels. If you choose to purchase Label Sheets at an office supply
store, over 250 templates are built-in for the most popular styles. Simply select the brand and model number from the drop-down list. You can also
create your own custom style by clicking New Label:
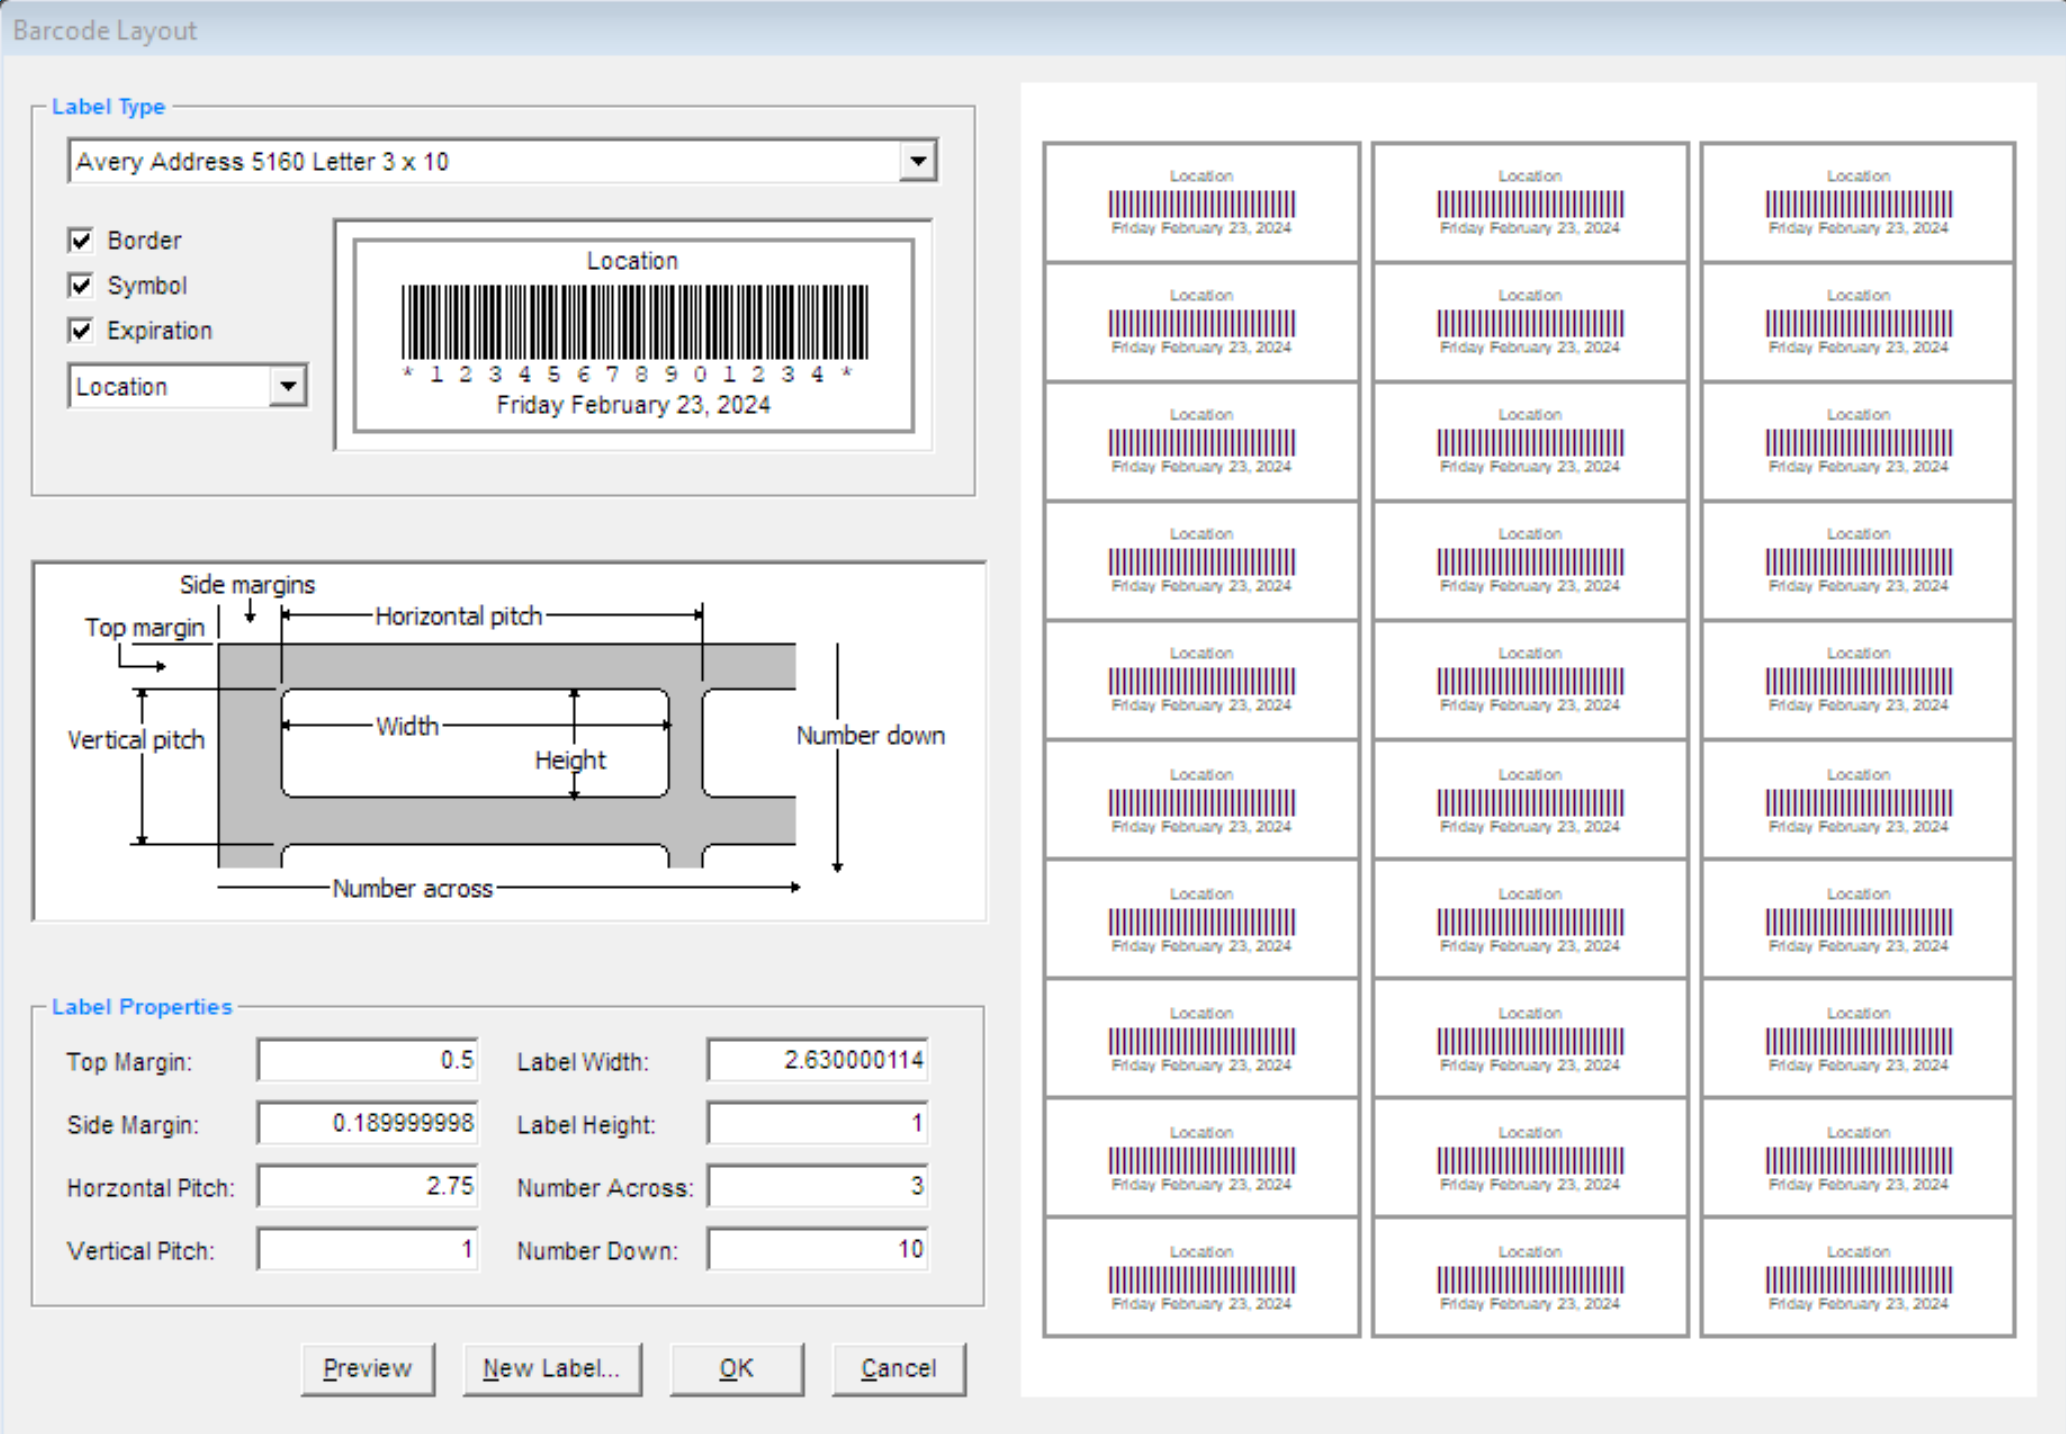
If you have a labels with a specific product number, you can quickly select a matching Label Type on the Barcode Layout dialog.
- On the menu, select .
- In the Label Type list, select your specific label product. The layout for that label is displayed in the Label Properties box.
TIP
If you don't see the product that you want in the list, check the information
that came with your product. There may be other, equivalent product numbers available.
- Click OK.
Custom Labels
TIP If you can't find a matching or equivalent label in the Label Type list, look for a label in the list that is close in size to the labels that you purchased,
and then modify its properties to create a custom layout.
Just equip yourself with a ruler and select the button.
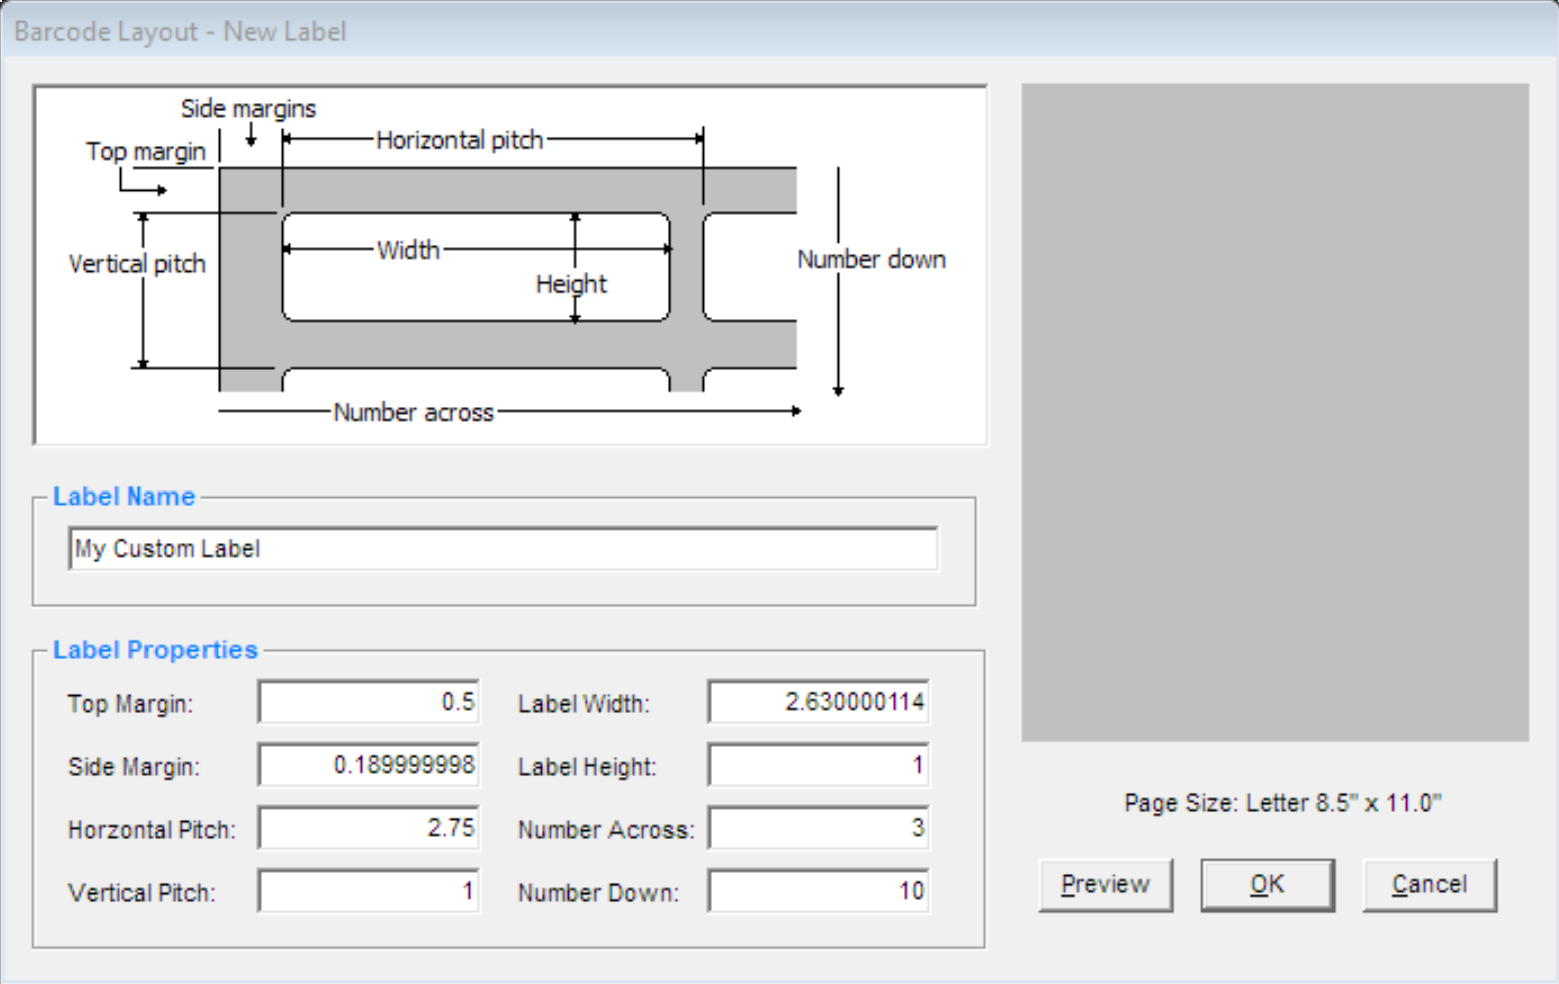
To create a custom label, first you modify the settings for an existing label, then save the changes with a new name.
- On the menu, select .
- In the Label Type list, click a Label Name that is similar in size to your labels.
TIP Measure
the labels on the sheet that you have, and note the measurements and how many labels fit on a single sheet.
Measure the labels carefully. The actual label size might be smaller than the size that is indicated by the label manufacturer.
For example, a 1-by-2-inch label might actually be 15/16-inch high and 1 15/16-inches wide.
- If the dimensions and label layout you selected match those of your labels, skip the rest of the steps, just click
, and use the selected label.
- If the label layout does not match those of your labels, click and enter a name for
your custom barcode layout.
-
Change the following Label Properties as required:
TIP The skeleton is the waste paper left on the backing sheet after you peel off all the labels.
-
Label Name: The name for your new labels. Enter one that you can recognize in the future when you need to use them
again.
- Page Size: The dimensions of the entire label sheet.
- Number Across: The number of columns of labels on your sheet of labels.
- Number Down: The number of rows of labels on your sheet of labels.
-
Top Margin: This is the distance from the top of the sheet to the top of the first label. This is the distance from
the top edge of the label to the first line of type.
-
Side Margin: This is the distance from the edge of the sheet to the nearest edge of a label. This is the left margin
of the label, the distance from the left edge of the label to the text.
- Vertical Pitch: From the top of one label to the top of the next label including any skeleton.
-
Horizontal Pitch: This is the distance from the left edge of one label to the left edge of the label next to it,
including any skeleton.
-
Label Height: Height of an individual label. This is the distance from the top edge of the label to its bottom edge.
It does not include the skeleton space between rows of labels.
-
Label Width: Width of an individual label. This is the distance from the left edge of the label to its right edge.
It does not include the skeleton space between columns of labels.
- After you modify the label properties that you require, click .
The new label appears in the Label Type list. The next time you use your custom labels, be sure to select it from the
Label Type list.
Guest Pass Reports
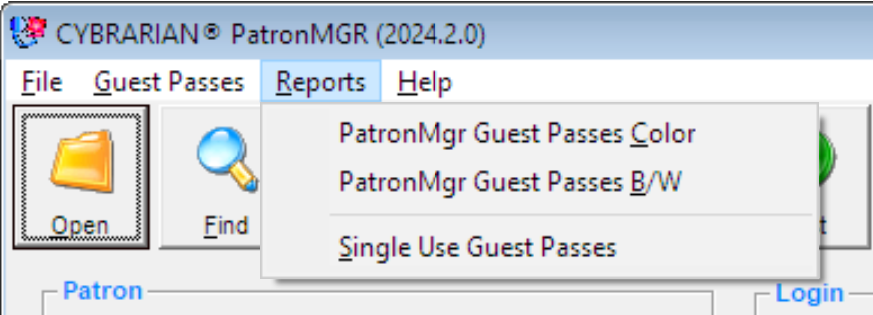
Create HTML Reports for distribution to staff. Each Report contains the most relevant patron information.
TIP After the HTML Report is produced, you can click a patron record to generate an to the selected patron.
Search by Name or Barcode
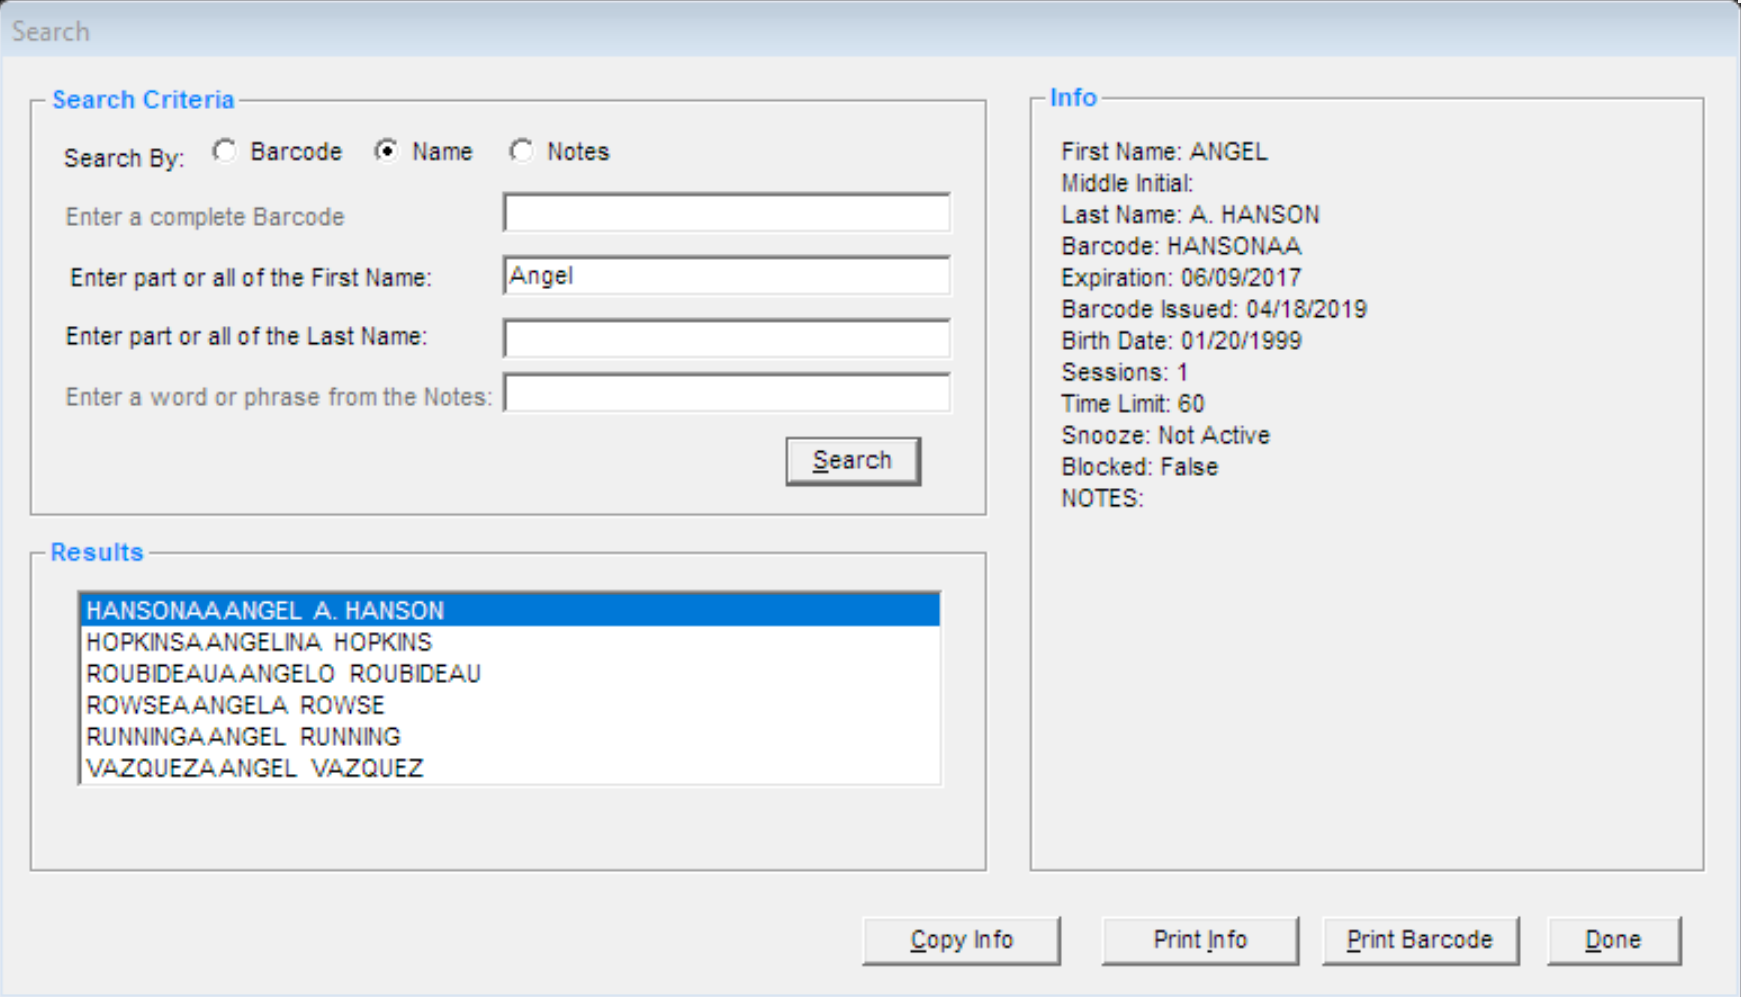
You can locate an existing patron barcode using the button on the toolbar. Use the and , or use to send the data to the Clipboard for use in other applications.
